Work is keeping me very busy, but to prove I’m still around here’s a quick blog post, taken from the top of my pile of unfinished blog posts.
Just a quick look (not a proper Handicraft post) at how I label old Hobonichis, so that I can see the year from the Techo’s spines, i.e. without having to take them from the shelf.
I love Post-its on a roll. Not cheap, but very useful. Even though Post-its are supposed to be reusable I often use Post-it tape for permanent labelling. In this case I just used white tape and make sure the labels are all at the same height by applying the label on the new Techo when holding the previous year’s Techo next to the new one.
If it comes off you could prefold the tape to make sure there’s a proper 90 degree angle where the cover meets the spine and/or use longer tape so that it has more area to ‘grab’ the cover. I should add that to the blog post.
In the previous handicraft blog post I followed Gunther’s instructions and made a leather case for the Pollux. This was easier than I thought. Putting the case together would have been very fast if it wasn’t for getting the needle through the holes in the leather, when sewing different patches together. That took quite a while.
Exited by the fact that the material wasn’t to expensive while the outcome was quite usable I thought I try to make another ‘leather item’, but this time something bigger.
I even found a use for the Staedtler compass(?) with two metal points, that I got in the past as part of an offer
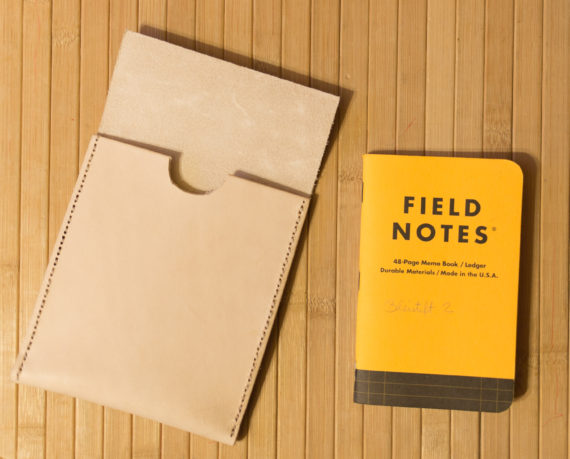
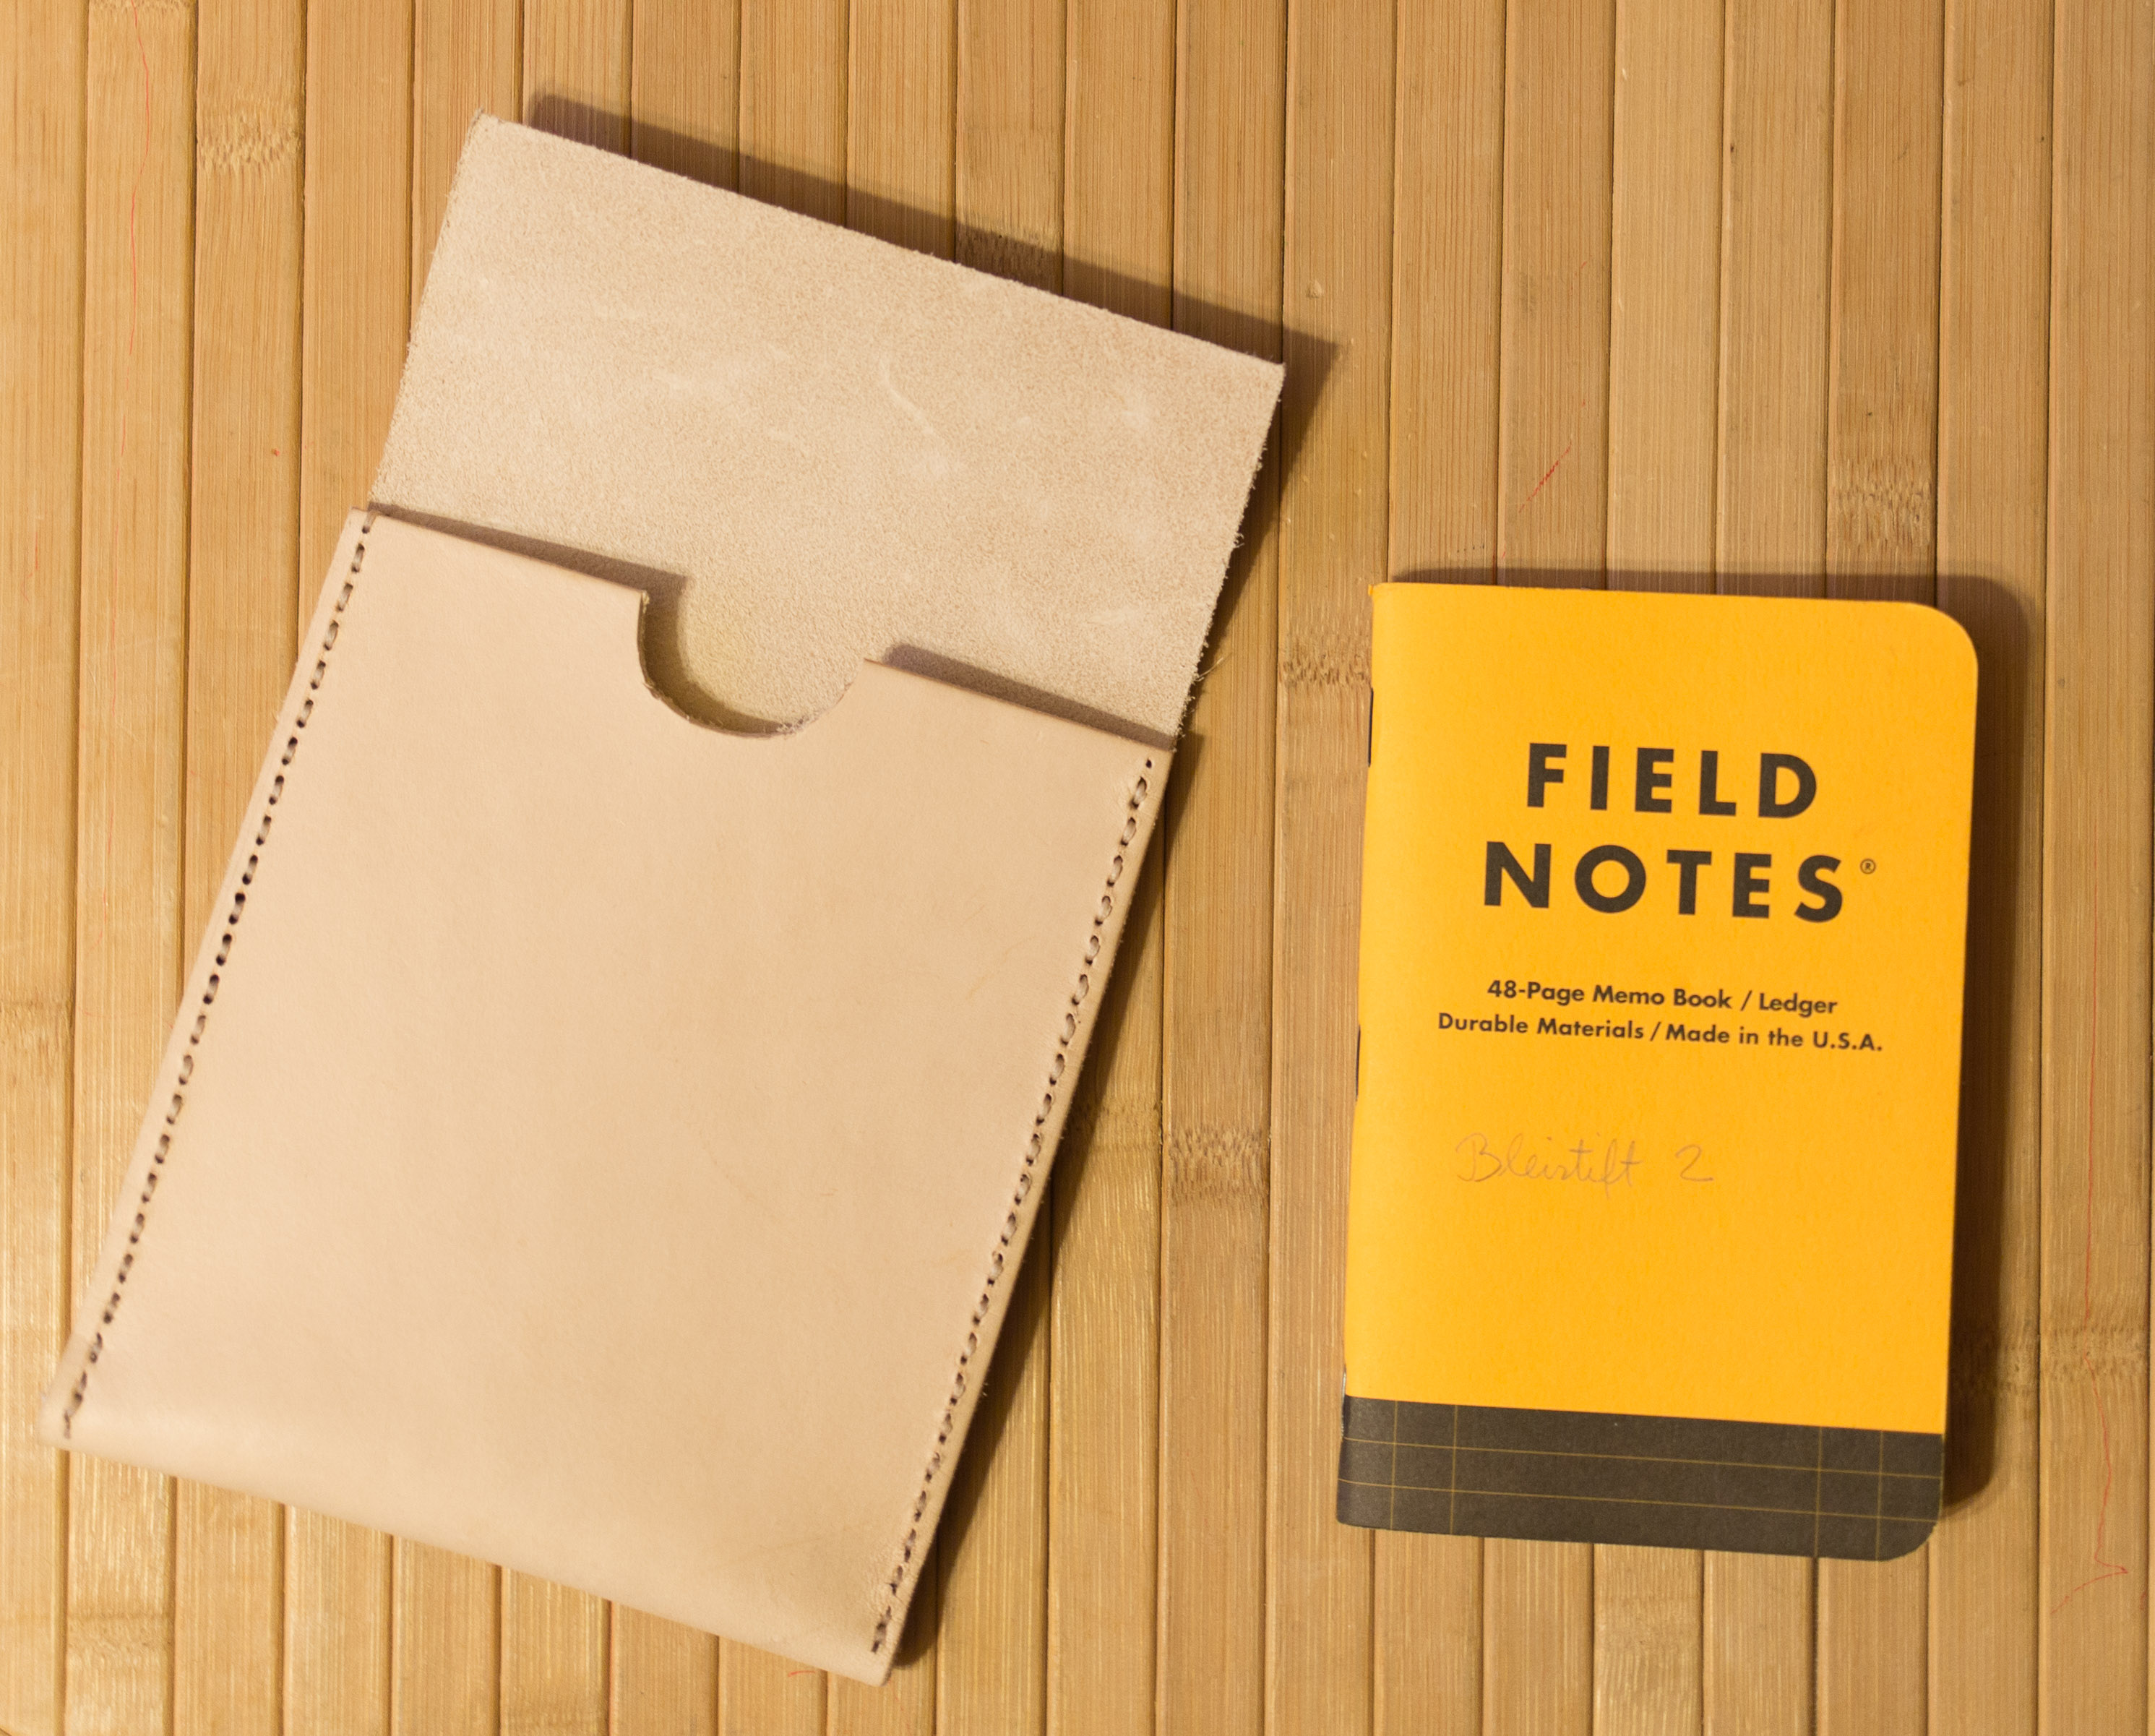
One of the leather items I am using frequently is a Rustico Field Notes leather cover. It’s great, but doesn’t hold as many Field Notes memo books as I have in use [1]I have different Field Notes memo books for different purposes – so another, bigger case/pouch would be quite useful to me.
Trying to make a similar case seemed like a good idea. The choice was to either make a very similar pouch to the USPS or FN version (using modern language I would call it ‘portrait mode’) or to do a ‘landscape version’ with slits in the back so that it can be easily attached to a belt.
I went for the ‘portrait’ version, mainly because it seemed cheaper to get a piece of leather to fit this version, but also because I thought it would be rather unlikely that i would carry the ‘landcsape’ version on my belt. The size of leather I needed was just a bit bigger than one I saw on eBay, but luckily eBay seller leatherandstuff-shop was happy to accommodate me: size-wise the closest patch of leather they sell is 30cm x 30cm, but they were happy to accommodate me and send me 35cm x 25cm for the same price (I need 35cm length for the pouch to work).
As the length, not the width, of the patch needed was the issue I had more material than needed and just cut the leather I bought in half, meaning that for the £11.95 I spent I can make a second pouch.
Once I got to the stage where I had to get the needle through the holes things got very slow again [2]Despite Craig Charles cheering me up in the background, even more so because this time I used thicker leather (officially 3mm, but actually 4mm thick), so getting the needle through the holes was just too difficult. To speed things up I went to the garage and got my variable-speed rotary tool (i.e. a no name Dremel copy) to enlarge the holes. Thanks to this tool enlarging/making the holes was very fast and getting the needle (and the thick thread) through was easy, but I’m not sure whether this is a recommended way of making holes. I don’t know much about working with leather, so who knows, maybe these kind of holes will rip out easily, unlike traditionally made holes. The point I want to make is: it worked for me, but this might or might not be a good way of doing it, I don’t know. It was however an easy way of doing it.
After I finished sewing the pouch together I was trying to get it into shape: instead of being very flat I want it to bulge out in the middle part, to make it easy to put the memo books in and to take them out, especially because the leather is so thick and inflexible.
I read that you can mould leather when it’s wet, so I held the case under a water tap. I then put a plastic bag insert in, made from cut up packaging material, but because I didn’t trust the insert to be completely water and condensation proof I didn’t dare to put my real Field Notes memo books in. Instead I filled it with paper of the same size as Field Notes memo books.
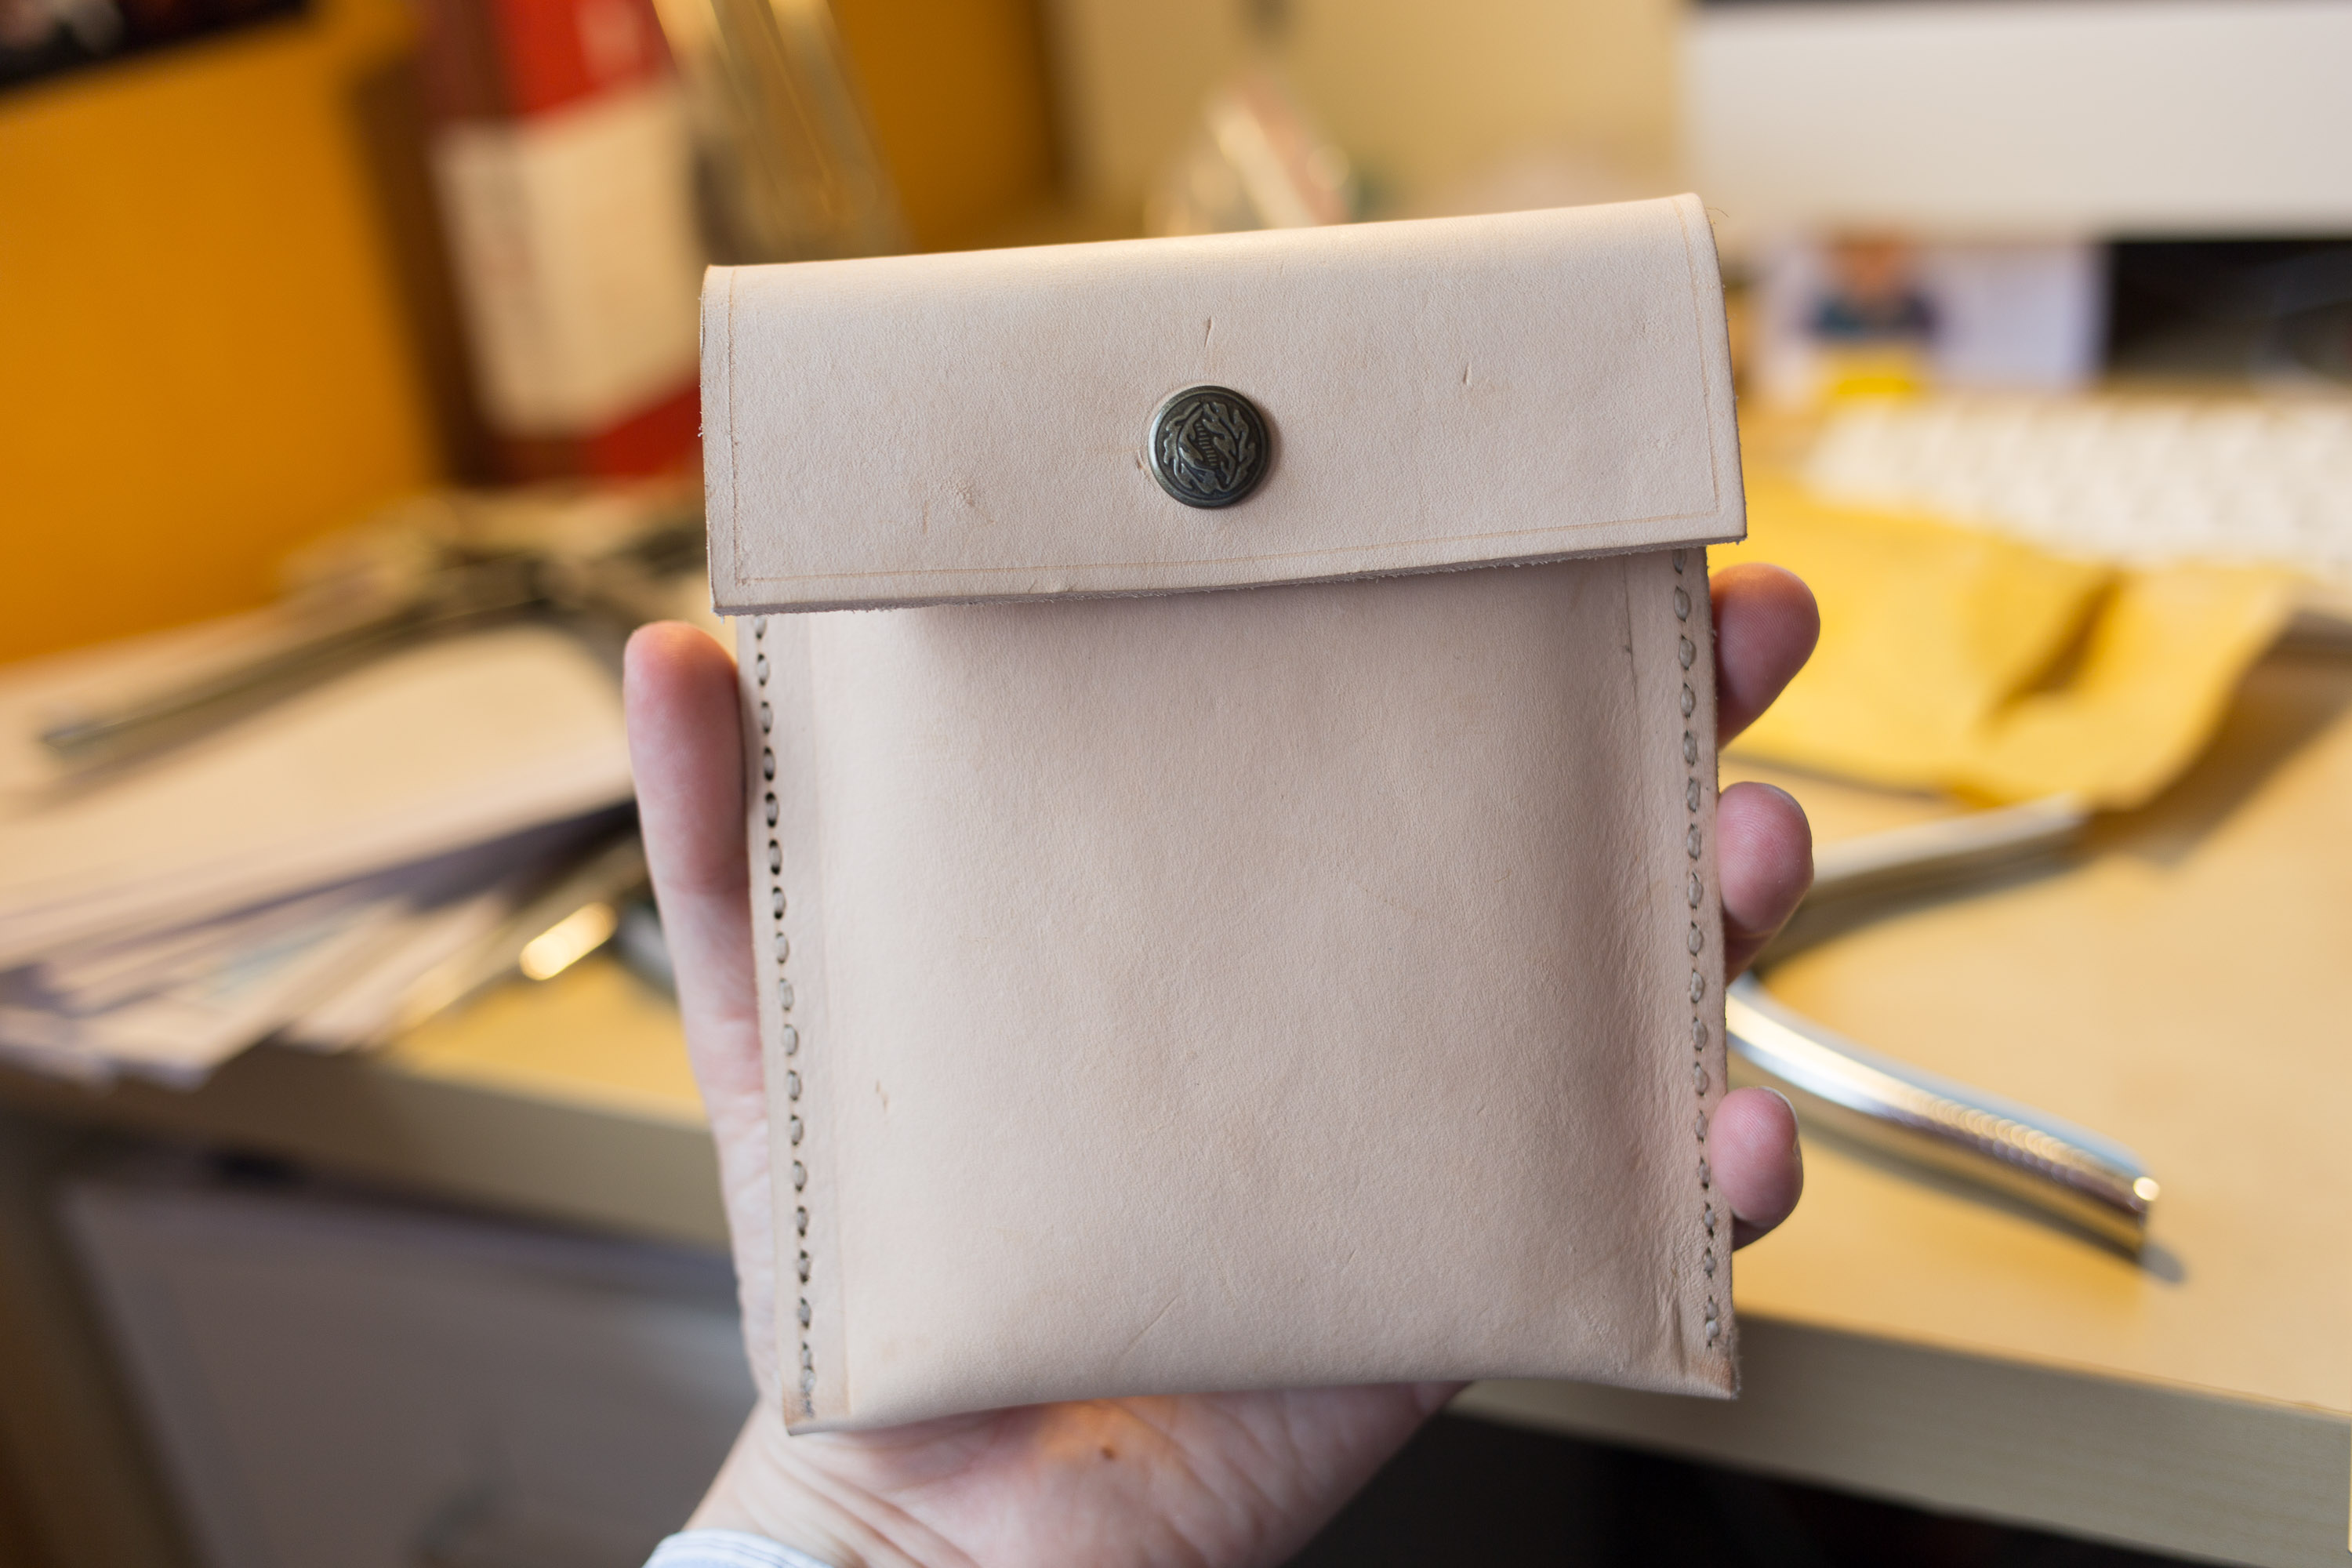
Afterwards the sides of the case were clamped down, so that only the middle part gets bulged out, not the whole case. This setup dried overnight and the case was nearly ready, I used some leather balm after the water torture and then I just had to wait a few more days for the push button for the flap to arrive, two were £1.79. Attaching it was slightly messy, just because I didn’t have the right tools, but in the end it all worked out.
..and here is my finished case. I have been using it for over a month now. It still has a strong leather smell, not sure when that will go away, but it is very sturdy and practical.
After my initial disappointment with Leuchtturm’s pen loop, my pen loops caused problems because of protruding plastic with glue at the bottom, I adjusted my pen loops by cutting the bit of the plastic off that put glue on the pens put in the pen loop and that scratched their surface. I wonder whether the pen loop has improved since 2011, maybe the problem is gone from later version of Leuchtturm’s pen loop. I haven’t found out yet because I haven’t bought new ones, but reused my old pen loops, as you might already have seen in this blog post. This weekend I have reused the last of my original pen loops, so I took some photos along the way.
Leuchtturm’s pen loop in my old diary.
Removing the old pen loop. The glue is quite something.
The old pen loop removed
I’ll attach it to the new diary with a paper riveter I bought in Shanghai many years ago.
A fake Noris. The company behind it didn’t try very hard, but I’m sure many customers who are not so familiar with pencils will buy this pencil because of the familiar colours and patterns. It even features a black strip between two yellow sides.
Long time readers might remember my blog post about the Reynolds 432 and the Nataraj 621, both of which look pretty much like a Staedtler Tradition. There are also countless Staedtler Noris copies – previously I’ve mentioned the Fox Essentials. Recently, I’ve come across a quite cheeky copy of the Noris, when one of my students was using it in class. I call it a cheeky copy, because it features a red cap, just like the original Noris …but the copied pencil’s cap is rather ugly in compared to the original.
The Noris eco is my daily pencil. The Leuchtturm Loop has been reused from a previous diary, thanks to a paper riveter.
A few weeks later I also finally got my hand on a Noris eco. I planned to get one from Cult Pens when I order from them again, but then I saw the Noris eco in WH Smith, where they sell for 85p (~$1.40; €1.05) each. I also had a look at my local Ryman, but they didn’t sell them there, even though they sell them in their official eBay outlet [1]It’s difficult to find there, though – they spell Staedtler wrong, even though they do sometimes get the spelling right, e.g. for the Staedtler Traditional [sic] pencil..
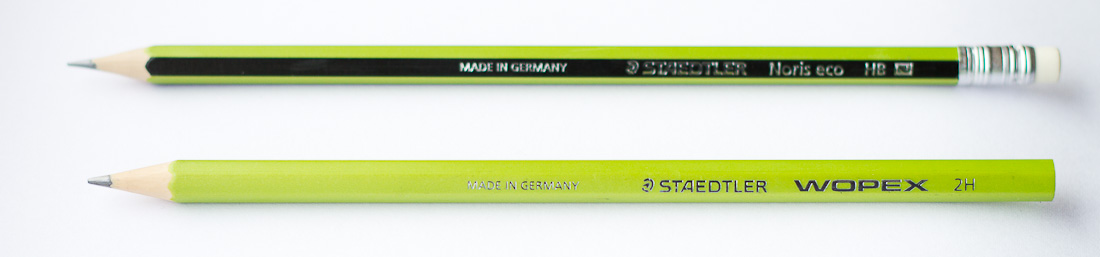
Top: Noris eco – Bottom: Wopex 2H
The lovely Noris eco is now my daily pen in my diary’s loop.
One thing I noticed: the green colour of the Noris eco seems virtually identical to the Wopex in 2H.
Top: Noris eco – Bottom: Wopex 2H
While the Noris has a more complicated pattern [2]The six sides of the hexagonal Noris are painted like this:
black, yellow (thin black strip) yellow, black, yellow (thin black strip) yellow., the Noris eco has a simpler pattern [3]The six sides of the Noris eco are painted like this:
black, green, black, green, black, green.. I assume this is because it’s not so easy to extrude a thin black strip precisely over a corner.
Now, if the Noris eco is just a green Wopex with black strips and if there are fake Noris (plural: Norises?) anyway, why not make your own (fake?) version from a yellow Wopex?
I’ve only ever seen the yellow Wopex in Asda and on Ebay. I assume the ones on eBay were bought in Asda, where they are very cheap.
To increase my chances of getting acceptable looking black strips on the pencil I decided to cover the areas not to be painted with a tape.
The taped Wopex. The tape dispenser in the background is an old Bakelite model.
I then used a permanent marker to paint the Wopex. As you can see it all went belly up. Somehow the tape didn’t stick well and the lines from the black marker were not very straight …so I didn’t bother to do the thin strips carefully either. If you want to try it and are successful: Try to do the red cap using nail polish. Pencil Revolution has further instructions.
Epic fail!
Price and exchange rates: January 2014
I’d like to thank Kamil Musial for showing me the “Stationery” Staedtler Noris copy.
It’s difficult to find there, though – they spell Staedtler wrong, even though they do sometimes get the spelling right, e.g. for the Staedtler Traditional [sic] pencil.
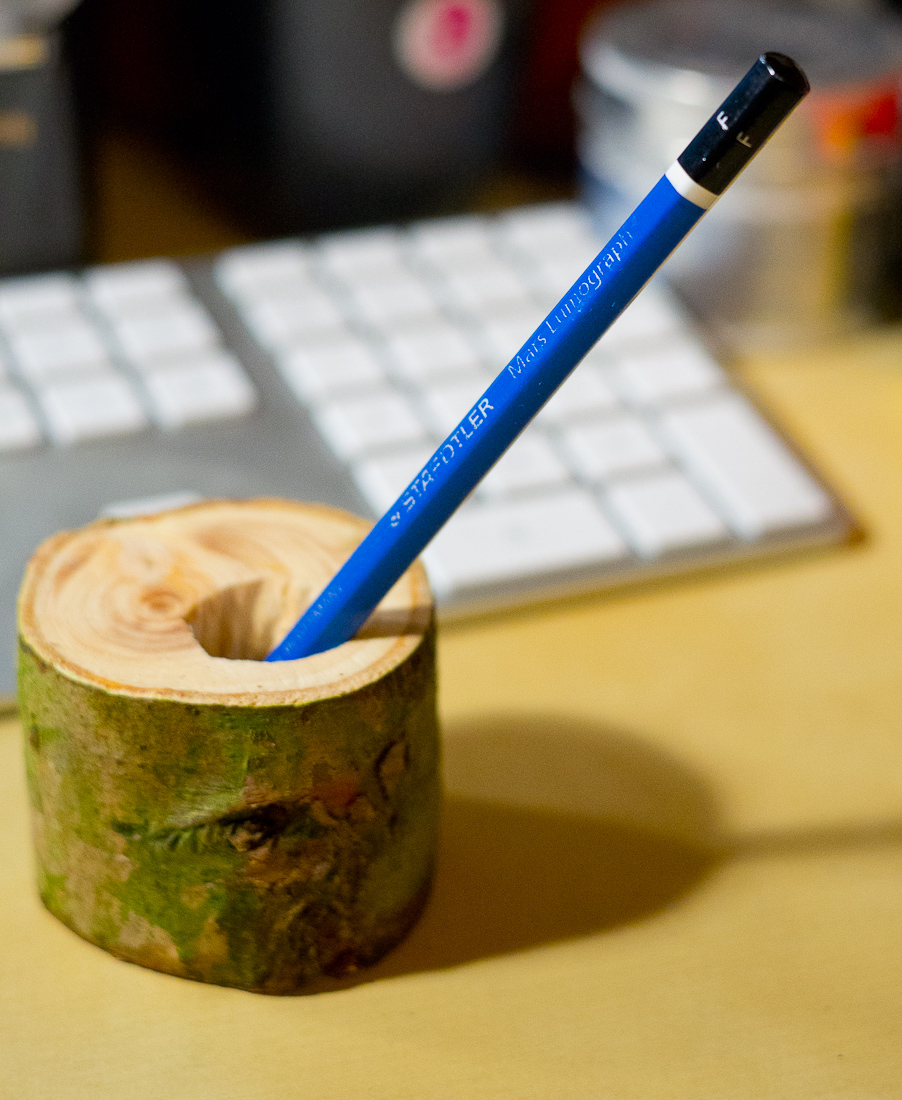
The idea: making a cap holder by drilling a hole in a piece of wood
There are some occasions when I’m not supposed to use a pencil, e.g. when marking assessments. I actually use mechanical pencils with different coloured leads for some assessments (e.g. programming related), but for other pieces of work I often use fountain pens [1]Often, but not always, a red Pelikan M205 with an F nib. I currently use Pelikan’s red ink, but Diamine Passion Red is great, too. I’ve got a bottle of it in my office. In the past I also … Continue reading. I don’t have a desk fountain pen with a stand and you might know that they are not common any more. In the past even inexpensive fountain pens for pupils came with a case that had a plastic pop up desk stand, but these days pen stands seem to be reserved for expensive fountain pens.
A desk stand would be handy when marking, i.e. if you only have to write a few words here and there with long breaks in between [2]I won’t start a discussion in this blog post on why I don’t use a ballpoint pen and why I want to use a fountain pen.. Unfortunately there are no generic desk stands either, at least I’m not aware of any, no wonder: every pen has a different width and what would be a good stand for one fountain pen might be too wide for another one with the result that the pen would rest on its nib, which might cause damage if no care is taken when the pen is placed in the desk stand.
The solution – a cap holder
I’m not too keen on using the word perfect, but a fountain pen’s cap would be pretty much a perfect desk stand …if it’d just stand. There’s no danger of the pen resting on its nib [3]Unless you made some adjustments that result in the nib sticking out too much. SBREBrown explains how that happened to his Konrad. , so all you need is to hold the cap, preferably at an angle that makes it easy to place and draw the pen. The solution came in the form of unwanted hedge trimmings. I cut about 4.5 cm (~1¾″) off a branch with a diameter of about 5.5 cm (~2″). I then drilled a hole diagonally into the piece of wood that was to become my cap holder/desk stand and improved it by smoothing it with a knife. In the end the hole had a diameter of just under 2cm (~¾″). I also put some walnut oil on the now finished pen holder to make it look better and last longer.
The finished cap holder
Habemus stylo titulari
As a cap holder for a Noodler’s KonradAs a cap holder for a Pelikan M205
The result: a cap holder and pen stand suitable for thin and thick pens.
It can be used for pencils, but I don’t think the usefulness in the case of pencils justifies the effort of making this pen holder: even though it only took about ten minutes to make the pen holder, with most time spend getting the tools, the added comfort when using the pen stand with a pencil is minimal when compared to the comfort when using it to hold fountain pen caps. The cap holder turns the cap into a pen stand which makes using a fountain pen very comfortable even when only using it for a few seconds every few minutes. No more picking the pen up and removing, maybe even unscrewing, the cap every time and putting the cap back on.
Often, but not always, a red Pelikan M205 with an F nib. I currently use Pelikan’s red ink, but Diamine Passion Red is great, too. I’ve got a bottle of it in my office. In the past I also used the Dufte Schultinte für Lehrer by De Atramentis, but it’s feathering on our photocopy paper – only exams tend to be written on better paper (the paper in my employer’s exam booklets is surprisingly good).